WordPress continues to evolve and bring us amazing new ways to design pages and make them unique. If a page has a great background or is incorporating different types of backgrounds, then it makes the appearance more of an individual. You can accomplish this by using Advanced WordPress Backgrounds.
A plugin like this will give you the ability to create all sorts of great background and background overlays on any WordPress post or page. Using them the right way can really make a page pop and get the attention you need.
Today, I am going to show you have you can easily add WordPress backgrounds to a page when needed using the Advanced WordPress Backgrounds plugin.
What are Custom Backgrounds in WordPress?
A custom background in WordPress is a theme feature. It allows theme developers to enable support for things like background color and image customization. If a theme developer has this enabled, then the theme user can upload their own background images and add their own colors.
Custom backgrounds on a page and other animations can be put into use utilizing code or a plugin. There are several solid WordPress plugins that allow you to add backgrounds and animations to a page within your theme.
Advanced WordPress Backgrounds
Advanced WordPress Backgrounds allows you to create and use parallax style backgrounds. This can be done with images, videos, YouTube, and Vimeo. Full Gutenberg support is integrated, as well as page builder support. The plugin is perfect if you are a YouTube background creator.
This plugin is easy to use, comes packed with background types, and will not slow your site down. Background types available once the plugin is installed include:
- Color
- Image
- Pattern Images
- Self Hosted Video
- YouTube
- Vimeo
Not only will you be able to make cool YouTube wallpapers, but you will also have the option of using Parallax to create and display these WordPress backgrounds. These options for Parallax include:
- Custom Speed Option
- Enable or Disable for Mobile Devices
- Scroll Effect
- Opacity Effect
- Scale Effect
- Scroll + Opacity Effect
- Scroll + Scale Effect
And that’s not all. There is also a stretch option that you can make use of for boxed websites, as well as a visual shortcode maker that you can use to create shortcodes using the visual builder.
All-in-all, the Advanced WordPress Backgrounds plugin gives you everything you need and more to create amazing backgrounds for your WordPress pages.
Create a Custom WordPress Background
Step 1: Install and Activate the Plugin
Before you can start making custom WordPress backgrounds, you first need to install and activate the plugin. To do this, simply hop over to the Plugins page in the WordPress admin dashboard.
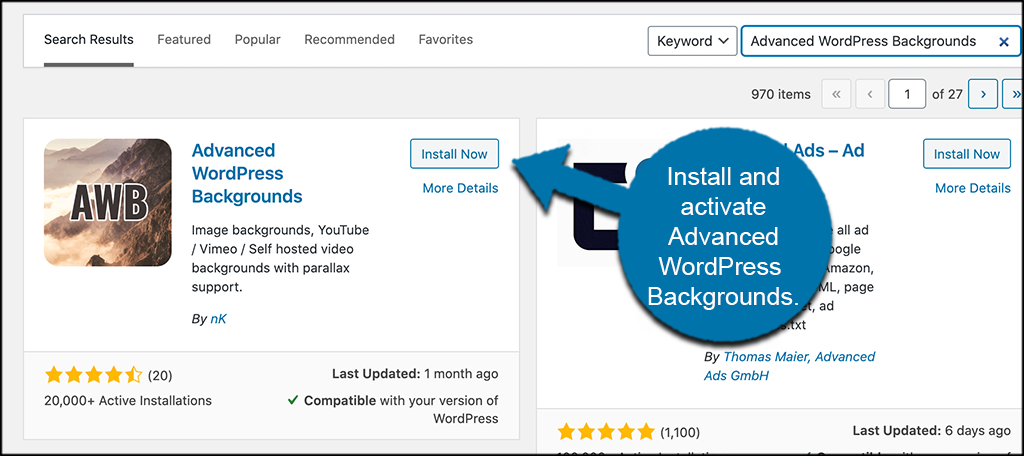
Use the search field to search the plugin by name. When it pops up, install and activate it from there.
Step 2: Access Background Settings
Now that the plugin is installed and activated, you want to access the background settings page for the plugin. To do this, click on Settings > AWB, located in the left side menu area of the dashboard.
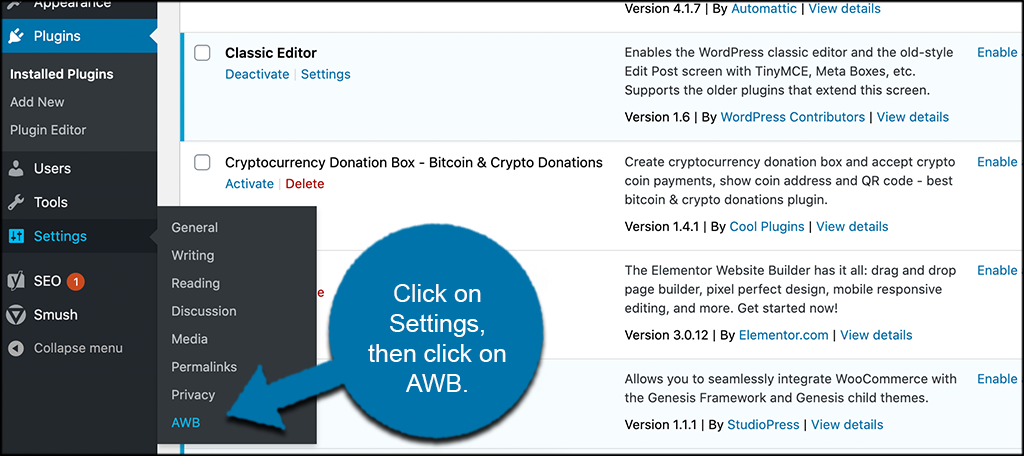
You can see that this option is now available since you activated the plugin.
Step 3: Configure the Plugin Settings
This move takes you to the Advanced WordPress Background settings page. Here, you will see two main tabs, General and PRO. The General tab gives you the options for disabling parallax and video on certain browsers if you want. Go ahead and fill this portion out however you see fit.
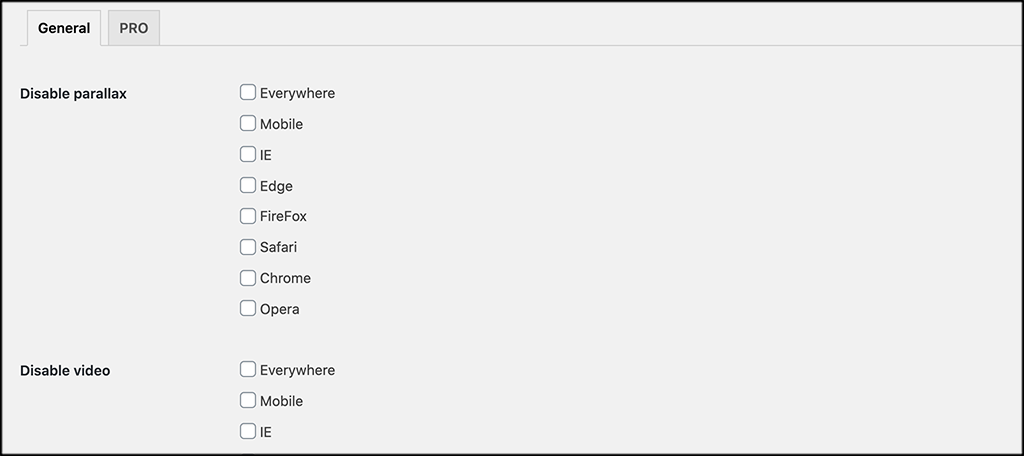
The PRO tab simply shows you what other options you can access if you buy the pro version of the plugin.
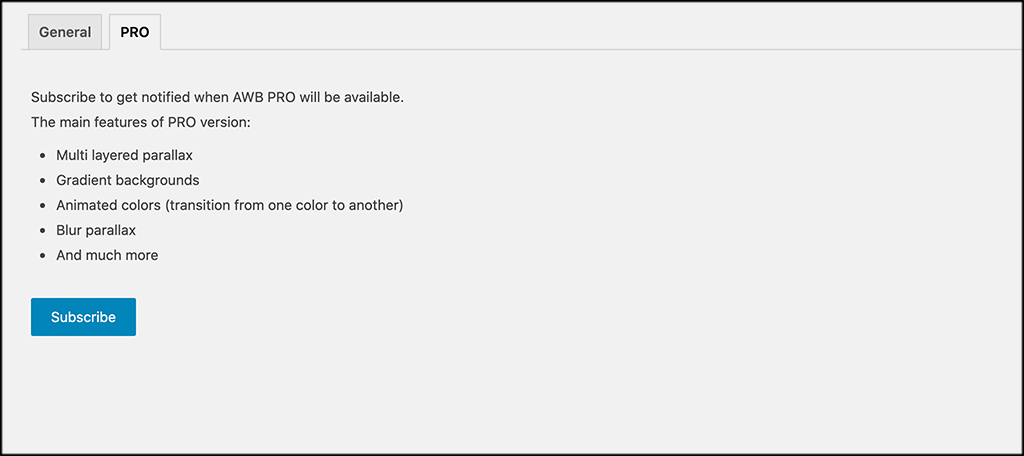
Note: If you feel you need the pro version of the plugin, then feel free to purchase it. All of these instructions for adding a WordPress background are based on the free version of Advanced WordPress Backgrounds.
Step 4: Add a New Page
Once the settings for the plugin are in place, it is time to add a new custom WordPress background. Click on Pages > Add New, to add a new page.

You can also go to an existing page if you want to add a WordPress background to an already existing page.
Step 5: Add the Background (AWB) Block
Now that you have opened the editor, it is time to add the appropriate block. When you activate the plugin, it automatically adds a new block to the Gutenberg editor titled “Background (AWB).”
Click the + symbol to add a new block and search for that relevant block to add.
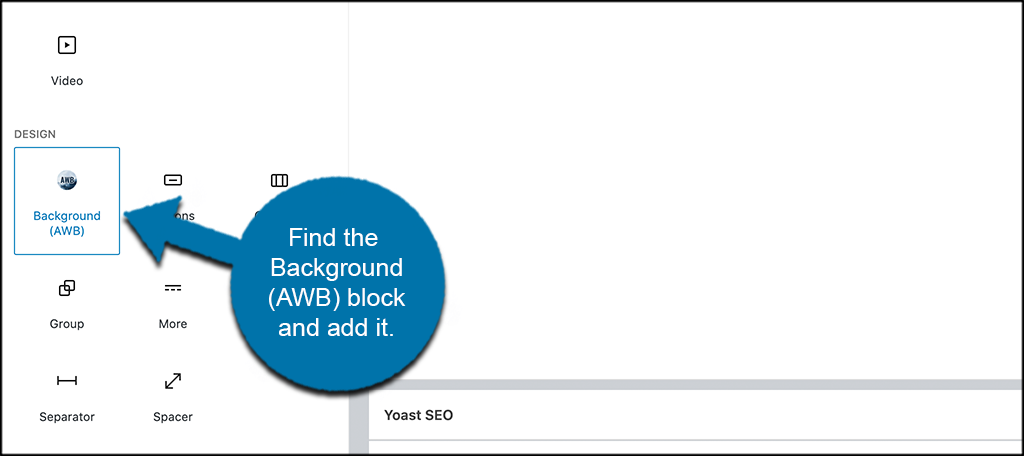
This will automatically add the Advanced WordPress Backgrounds block to your page, where you will be ready to edit it.
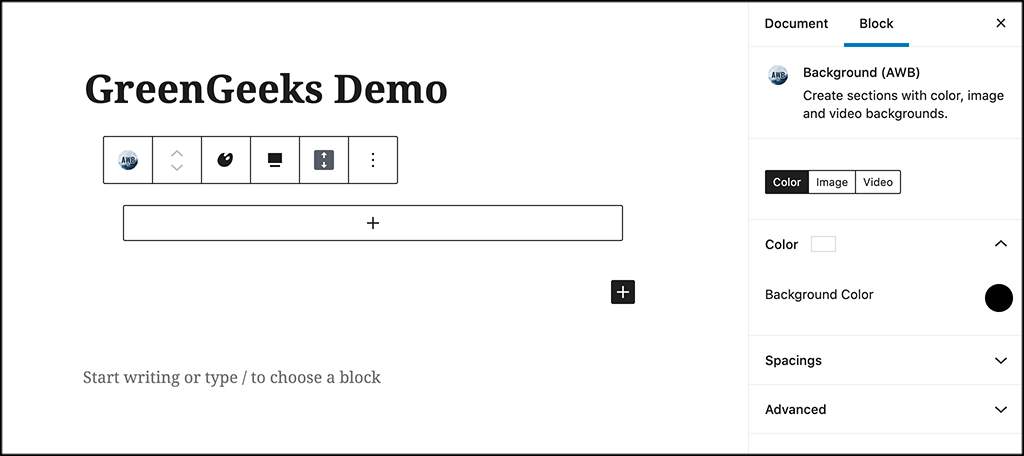
Step 6: Select the Background Type
Now that the AWB block is on your page, you want to select what type of background you are going to build. For this demonstration, we are going to use the “Color” type. However, you can choose to use the Image or Video type if you prefer.
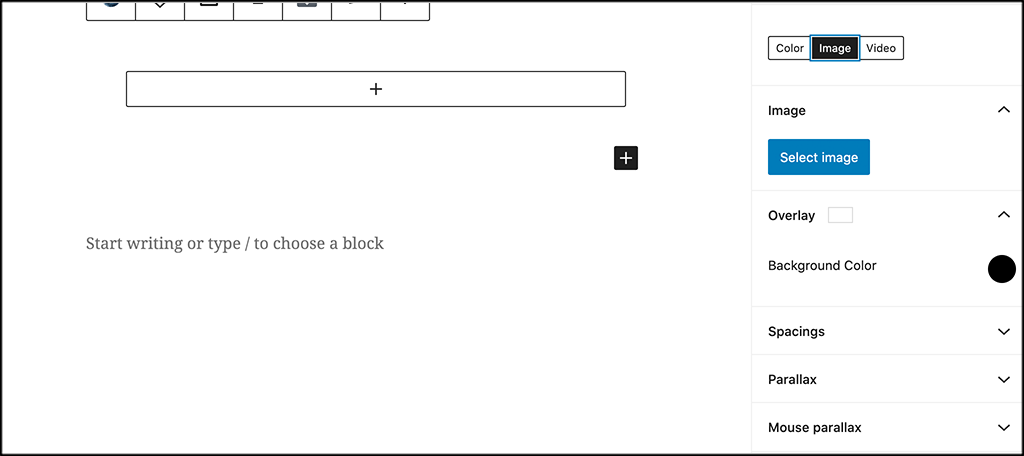
Image Background Type
If you select the “Image” type for background, then you will simply select an image from your computer or from your media library to use for the custom WordPress background.
Video Background Type
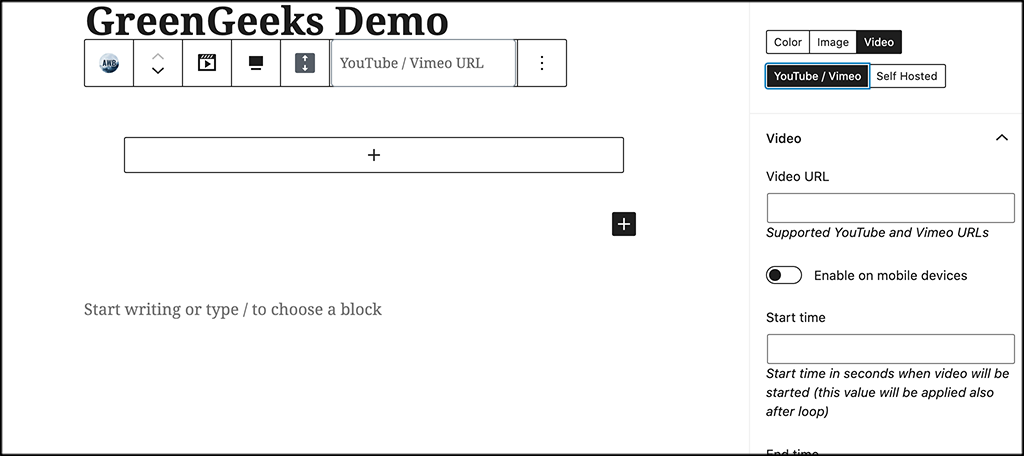
If you decide you want to use the “Video” type for a background, then choose self-hosted or YourTube/Vimeo options. If the file is self-hosted, select the file from the media library or computer and pull it in.
Conversely, if the video is hosted on YouTube or Vimeo, you simply need to add the URL to the correct field and the video background will automatically display properly.
Color Background Type
As stated above, I have selected the “Color” background type. Simply select the color you want to act as the background.
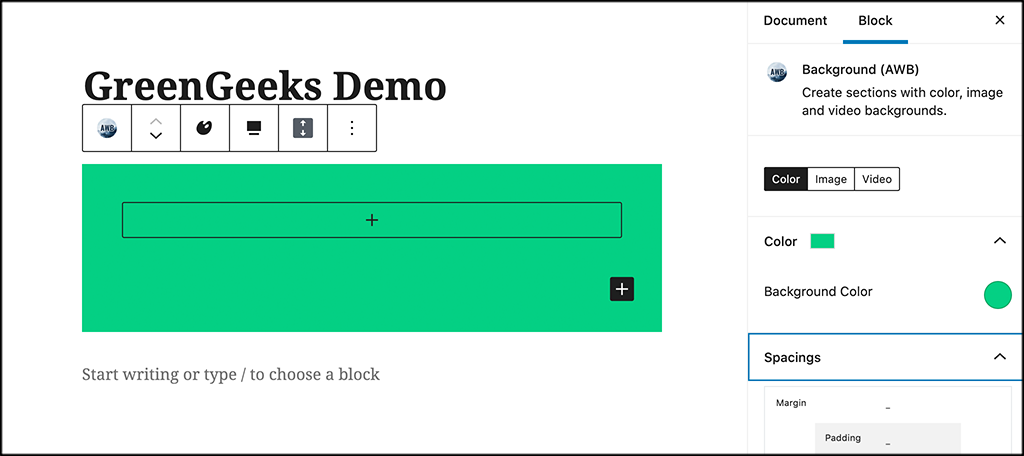
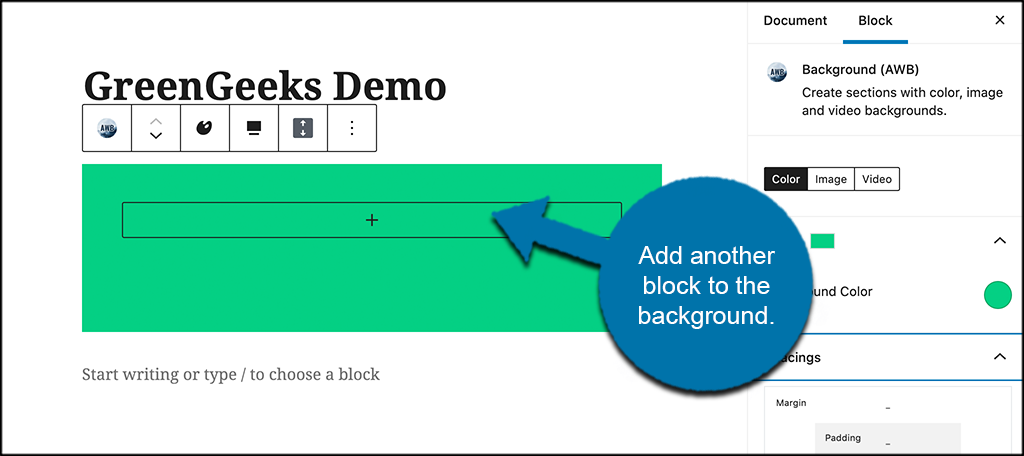
You can see I chose to set a green background. Once that is in place, you can add another block over the background.
I went ahead and added a “Paragraph” block just to put some text in for the demo. You can add any block you want.
Step 7: View Your WordPress Background in Page Preview
Now that you have your WordPress background in place, go ahead and preview it in the browser and see how it looks.
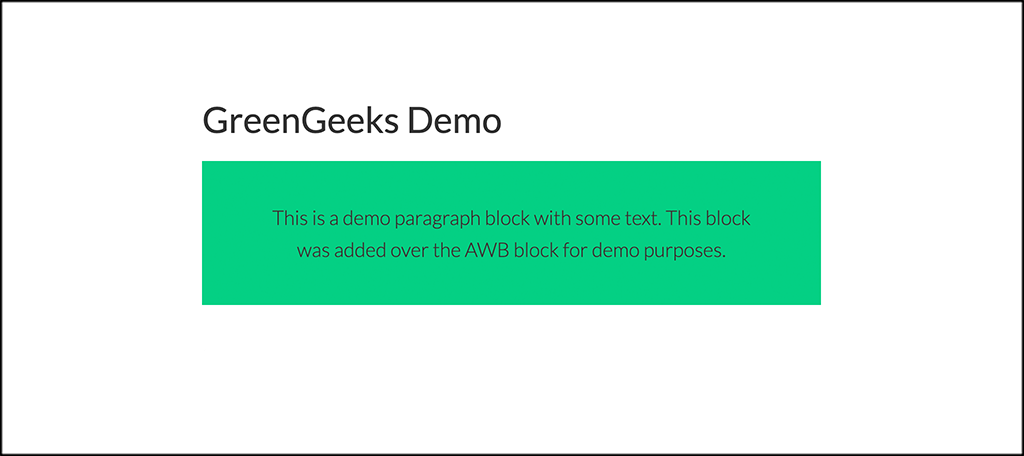
Once you are happy with what you have, you can publish the page. Feel free to add as many different background blocks as you want to the page or other pages. Try them all out, use the effects, see what all out can come up with.
What is the Most Popular Background Type?
Well, the most popular WordPress custom background type for your website may be different than it is for another website. It all depends on what you are trying to accomplish, your target audience, and what type of website you have.
Using a selection of all the backgrounds available in the Advanced WordPress Backgrounds plugin is always encouraged. Build something people will remember.
Final Thoughts
Creating different, eye-catching, unique custom WordPress background for your website pages is something that will not only help people remember your site, but will also help you build something more unique than someone else might have.
I hope this article showed you how easy it is to add a custom WordPress background to your website. Advanced WordPress backgrounds makes the process easy and fun. It is a fantastic plugin to have.
Have you tried adding WordPress backgrounds using a different method? Do you prefer coding them yourself?
