A “pull request” in Git is simply a feature that makes it even easier for developers to collaborate. Git pull requests allow you to tell others about changes you have pushed to a branch in a repository. This allows multiple people to work on open-source projects.
What is a Git Pull Request?
In even more basic terms, this command is a mechanism for a developer to notify team members that they have completed a feature. The main issue with Git is always how technical it is and how long it takes to learn. So, in an effort to better understand a Git pull request, think of it like this:
You are working on a project as part of a team and make some code changes. You then submit your code changes to a remote project maintainer (like GitHub) where the code updates are reviewed and approved before being implemented or merged. In essence, this is called a “pull request.”
An interesting thing to know and remember. Pull requests are not actually a core feature of Git. They are commonplace because they work as an essential function when teams are working with open-source projects.
What You Need in Place to Perform a Git Pull Request
In order to even create a Git pull request, you need to have three main things in place. Along with these three things, it will also help if you already know and understand how to use Git. Here is what you need to have in place:
- You need to have Git installed and running on your machine. There is the option to install it on Windows or install it on Mac OS and Linux.
- You will need to have a GitHub account as well. You can open an account through the GitHub website or log in to an already existing account there.
- Last but not least. You should have an already existing open-source project to contribute to. Or, you need to find one that interests you.
Remember, the key here is open-source. You want to contribute to a project that others are working on, so identify one, then use the pull request to submit so that you can work on it.
As far as creating a Git pull request goes, let’s try to keep it as simple as possible. There will be a lot of different commands involved sometimes, so you will need to know these and they will vary based on what you are doing. However, if you are familiar with the top 20 Git commands, then you should be fine.
Create a Pull Request
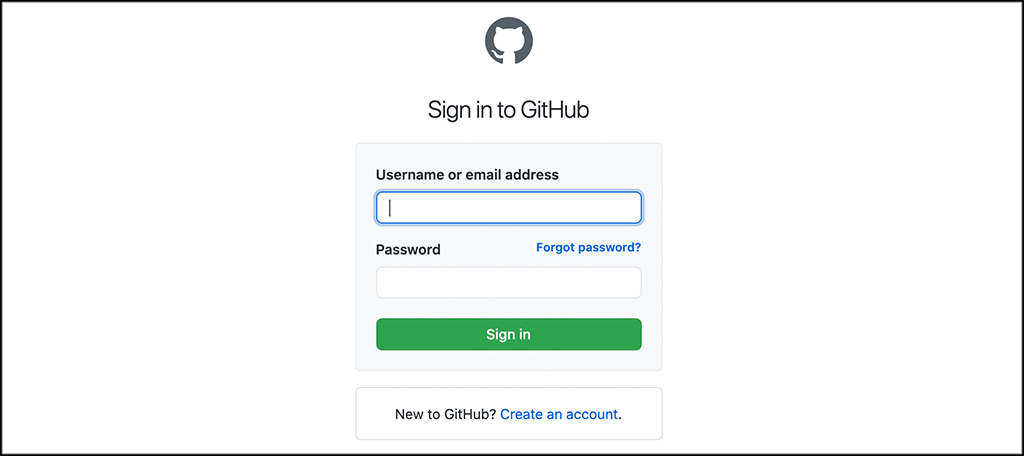
Step 1: Log in to Your GitHub Account
Head over to GitHub and log in to your account. If you don’t have one, then create one as described above. You will need an account to create a Git pull request.
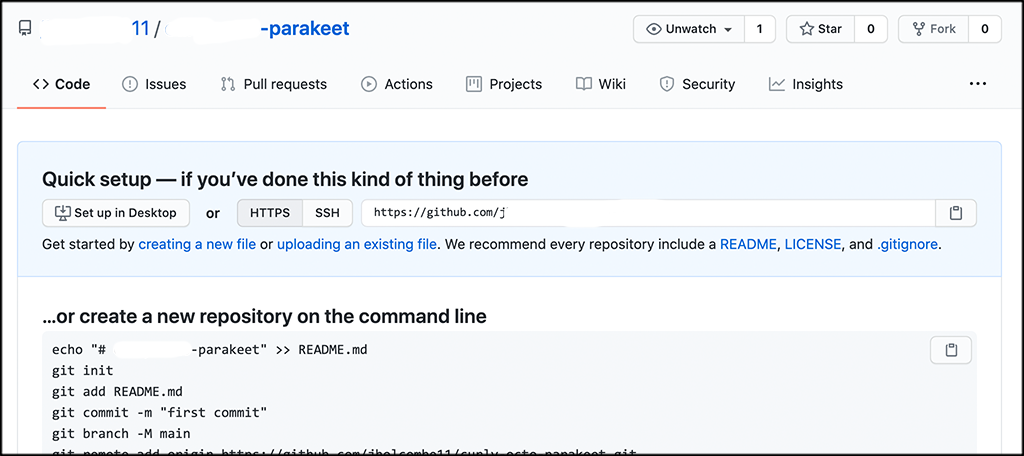
Step 2: Navigate to Main Page of Repository
Once inside your account, navigate to the main page of the repository and choose what project you want to create a pull request for. I am jumping into a demo repository I made, but select the one you want.
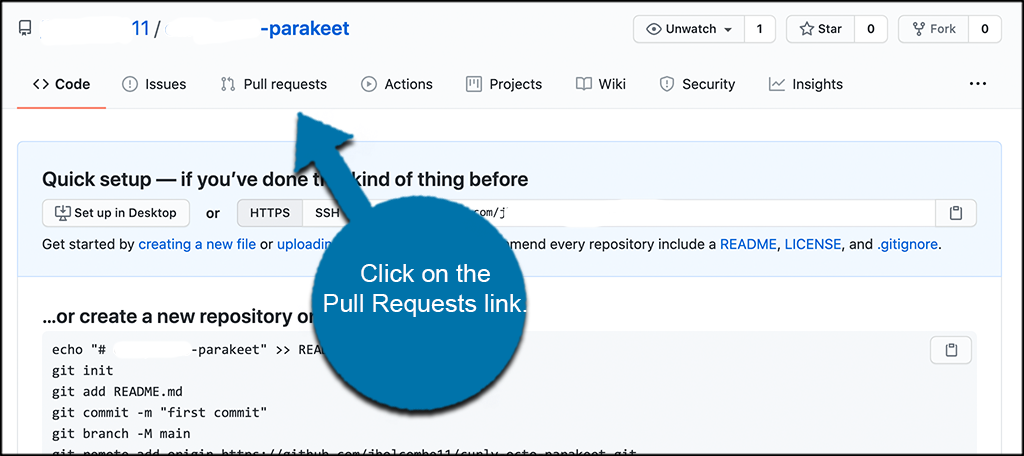
Step 3: Click on Pull Requests
Click on the “Pull Request” option in the menu area.
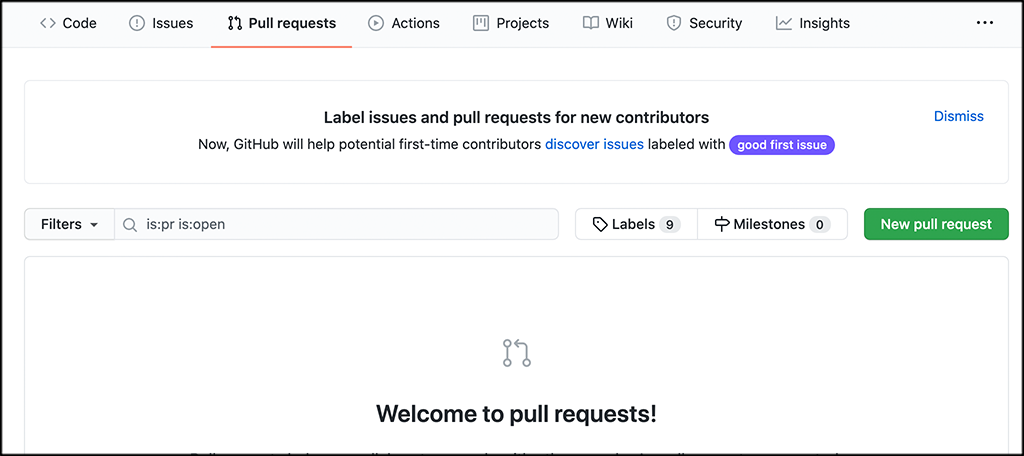
Step 4: Click on New Pull Request Button
On this page, you will see a green “New Pull Request” button. Go ahead and click on that.
Step 5: Upload New Code and Submit Request
You will be taken back to the main repository you are working on. Go to the bottom of the page and click on the “Import Code” button.
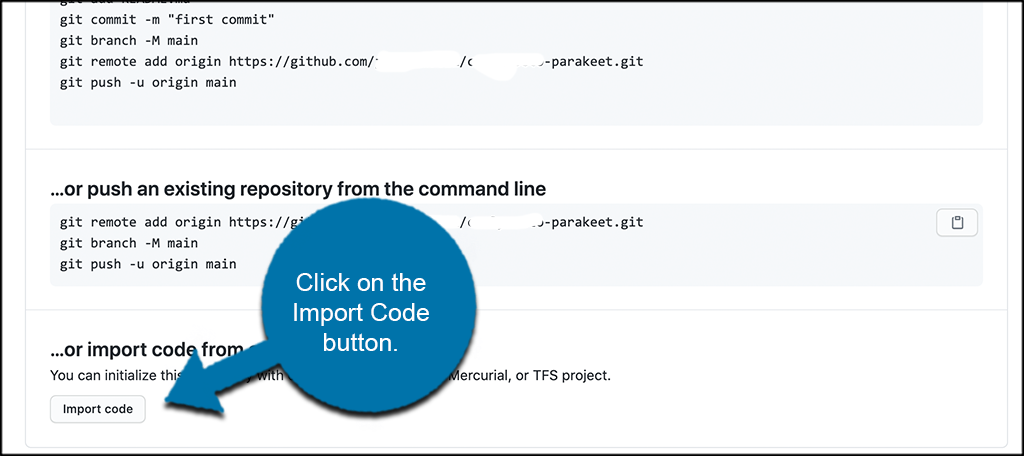
Step 6: Import Clone URL and Submit Pull Request
Last, but not least, import all files from the clone URL and submit the pull request.
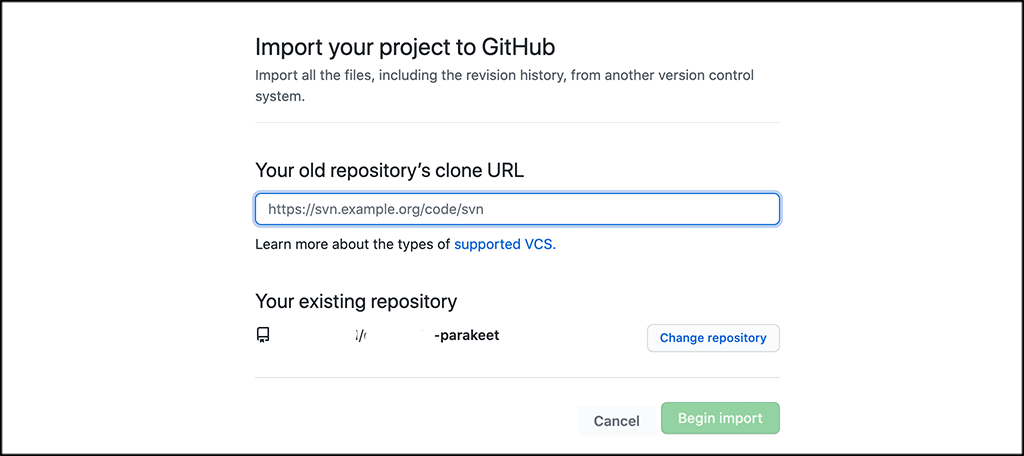
That’s it. Your pull request has been submitted.
How the Pull Request Works
Basically, a Git pull request goes through five main steps from start to finish. Now, it is important to remember that pull requests in distinctive workflows may be a little different in small areas. However, for the most part, this following process remains the same.
- A developer creates an open-source project in a dedicated branch on their local repository.
- Once ready, the developer then pushes the branch to a public repository like Bitbucket.
- The developer then files a pull request.
- The rest of the team goes over the code together. They review, discuss, and alter it where and if needed.
- When it is done and ready, the project maintainer adds (merges) the feature into the official repository. Then that pull request is closed.
How to Get Changes Approved With a Git Pull Request
Obviously, you need to understand forking and how all that works. However, to try to explain this in the easiest way possible, you fork a repository on a remote hosting service, then clone it to your machine. At that point, you can start working on the code and changing it.
When you are happy with all the code changes you made, you can perform a push to the fork and then open up a pull request. This signals the main repo and asks the maintainer to review the code and request any changes or edits needed.
If the pull request you made is approved, then those changes are added (merged) into the main repo. If not, the update requests are sent back and the process repeats itself.
Summary
This should be enough to get you started in the right direction when it comes to integrating pull requests into your existing workflow. Try and remember that Git pull requests are not a replacement for any Git-based collaboration workflows. They are, however, a convenient addition to the workflow that makes collaboration easier for all team members involved.
Learning and understanding how a Git pull request works will allow you to work on open-source projects using Git and GitHub. This means that you can submit Git pull requests and, if your code submissions are accepted, you are a part of building something that everyone can use.
