WordPress is a versatile tool for making websites. It’s designed to allow users of all skill levels to create beautiful web pages and designs without having a background in programming languages. But it can seem overwhelming to set up WordPress after it is installed. We can help with that.
When you’re ready to configure WordPress, there are several key issues you need to consider. By following our guidelines, you can enhance how your site appears in search engines while making the site user-friendly and secure.
Here are the steps that every WordPress user should implement starting on day one.
Step 1: Find the Right Theme
Your website’s theme will be one of the first things you install once you have WordPress up and running. Themes can help set the stage for visitor interaction and retention. The hardest part of implementing a theme is finding the best one for your new site.
There are thousands of themes to choose from. Whether you’re looking for a free layout or paying for a premium theme, the number of styles available ensures that you’ll find something that works for you.
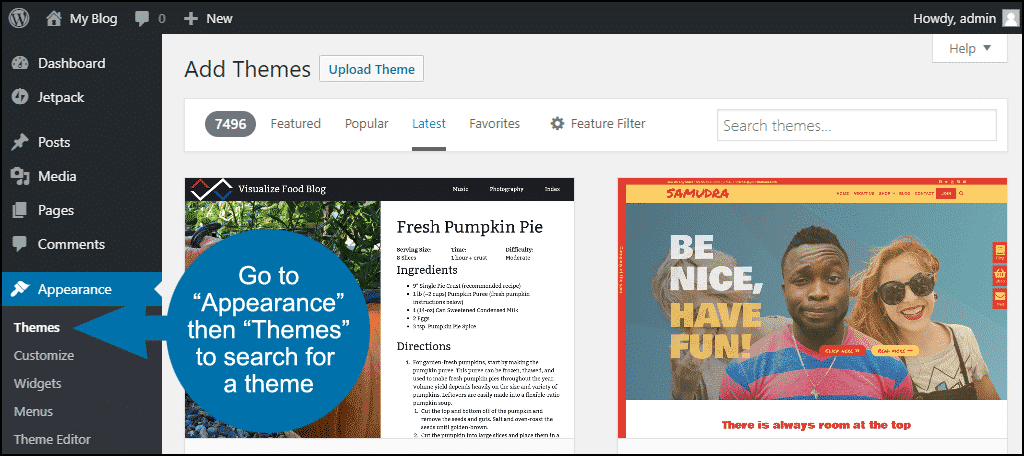
Themes are found by going into “Appearance” from the dashboard and selecting “Themes.” Click the “Add New” button on the next screen and begin browsing for the perfect look for your new site.
Step 2: Install and Activate Jetpack
Jetpack is a plugin from the makers of WordPress that offers a large number of modules that can play into the development of the website. This plugin is sometimes installed by default when you set up WordPress.
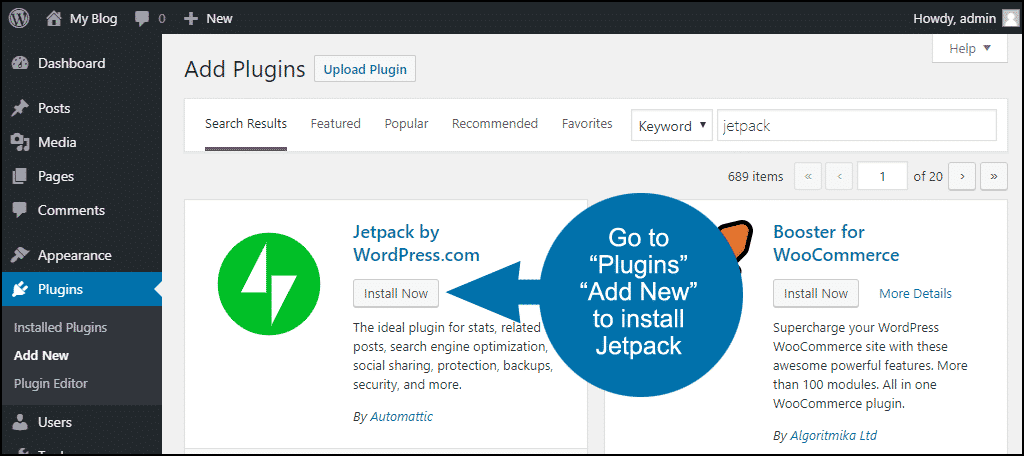
If not, you can install it by going to “Plugins” then “Add New.” Search for “Jetpack” in the text field.
Jetpack is loaded with features ranging from visitor stats to lazy loading images. Settings can be turned on or off depending on your needs. You may want to take a moment to examine what is available as it could play into your design.
In order to use many Jetpack, you’ll have to set up a WordPress.com account if you don’t already have one. When you are logged in to Jetpack, it will ask you to choose a (paid) plan. Scroll down beneath the plans and look for a “Start with free” button to set up a free account.
Step 3: Increase Security

Even a brand new site can be the target of attacks and hacks. Plugins like Wordfence Security – Firewall & Malware Scan offer a wide assortment of protection from firewalls to routine file scanning. Some are also capable of preventing brute-force attacks from your login screen by denying the address of those trying to hack your site.
Another way to increase security is to protect your admin login. One way to do that is to implement two-factor authentication by installing a plugin like Google Authenticator. The plugin works with the Google Authenticator app on your cell phone to provide a unique key each time you log in.
Using two-factor authentication makes it virtually impossible for anyone – even if they have your username and password – to log in to your site (unless they also have your phone, in which case you may have bigger problems).
NOTE: The free version of WordFence now includes two-factor authentication.
Step 4: Back up WordPress
If you only install one WordPress plugin, make it a backup service. There are a lot of things that can go wrong with a WordPress installation. An update can go wrong, you can get hacked, and – believe it or not – we sometimes actually make mistakes ourselves that knock our WordPress sites offline.
In cases like these, a recent backup can save you hours, or even days, of work getting your site back up and running.
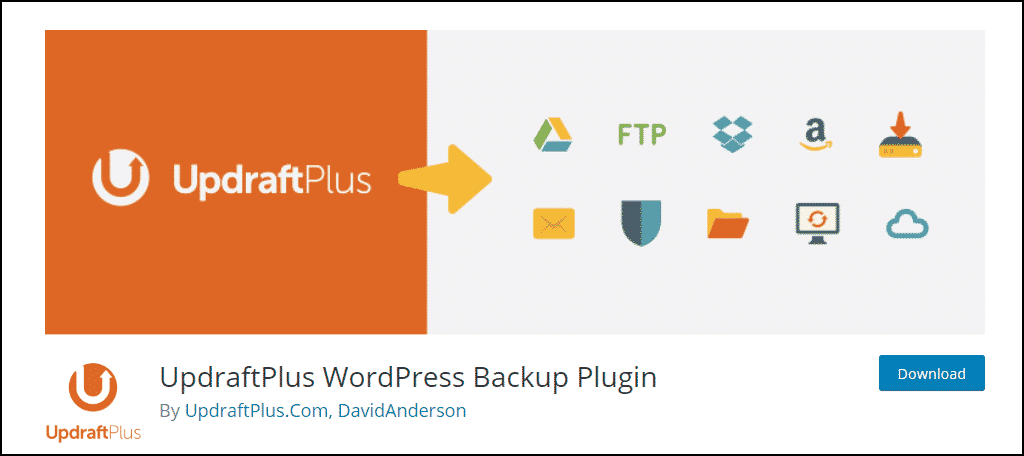
The UpdraftPlus WordPress Backup Plugin is the most popular free tool to back up WordPress. UpdraftPlus allows you to create a complete backup of your WordPress site and store it on a cloud service (Dropbox, Google Drive, S3, Rackspace, FTP, SFTP, email) or download it to your computer.
There are also a number of paid backup services that provide increased flexibility and options. If you’ve installed Jetpack, you’ll have access to their popular paid backup option.
Step 5: Set up a Sitemap
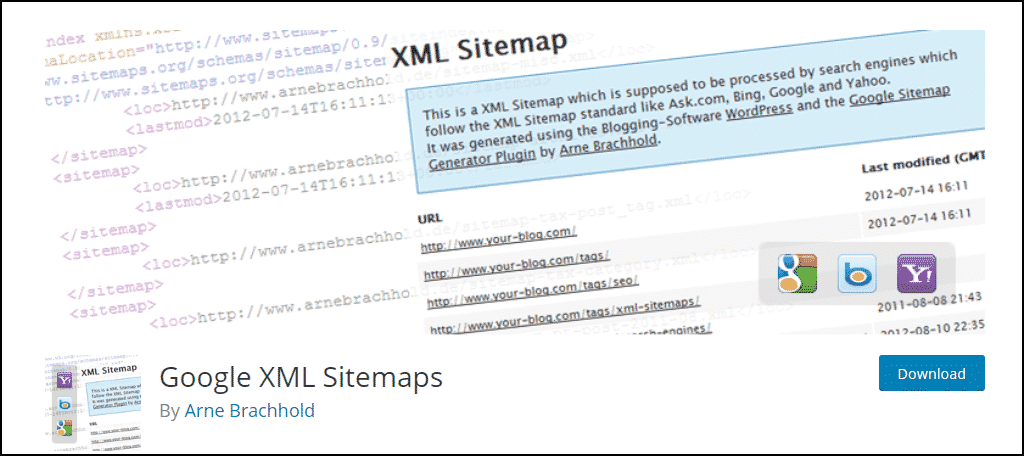
Search engines such as Google and Bing use a sitemap to find content on your website. Sitemaps are often automatically generated using various plugins such as Google XML Sitemaps. This plugin is exceptionally useful as it adds a great deal of control to how bots crawl your site.
The Google XML Sitemaps plugin will automatically submit your sitemap to Google and Bing.
If you want to add SEO to the process of creating a sitemap, something like Yoast SEO might be right up your alley. I’ll cover search engine optimization in a moment.
Step 6: Implement Social Sharing

Social media plays a very important role for websites. It’s important to give visitors a way to share your content with others. Plugins such as Social Media Share Buttons & Social Sharing Icons give your sites a selection of the most popular social hubs for others to use.
If you’ve installed Jetpack, you already have a social sharing plugin. Just go to Jetpack > Settings > Sharing and toggle on “Add sharing buttons to your posts and pages.” Then go to Settings > Sharing to choose which social sharing buttons you’d like to use.
However, the WordPress repository is full of useful social sharing apps. Take a few moments and find one that fits best with your design ideas.
Step 7: Enhance SEO

Search engine optimization will boost how often visitors will see your content on the Internet. Plugins such as Yoast SEO or All in One SEO Pack give you greater control over how Google and Bing rate your site.
Some of them may even provide you with an XML sitemap as I mentioned above.
The sooner you get SEO implemented on your WordPress website, the sooner your search result rankings will improve. Tools such as Yoast SEO or All in One SEO Pack give you the best chances for creating the best content from the day your site goes live.
Step 8: Activate Akismet Anti-Spam

Akismet effectively checks for spam comments and either deletes or holds them for approval. As of this writing, Akismet has protected this tutorial site from 41,179 spam comments. Over on our Knowledge Base site, it’s effectively stopped 113,900 spam comments!
Akismet just works, and it will save you a lot of time dealing with spam.
Akismet will be installed by default when you install WordPress, but you have to activate it. In order to activate it, you’ll have to set up a WordPress.com account if you don’t already have one.
Always Keep Improving
While we’ve covered WordPress for beginners in this article, as your site grows you’ll undoubtedly find that you need additional plugins. There are about 55,000 WordPress plugins at the moment, so you can always find something new to implement that will help drive traffic and improve visitor retention.
What kinds of things would you like to implement on your WordPress website? Are there WordPress set up steps that you believe we missed?

