You’ve just created the most perfect content for your website. You’re getting ready to upload the most amazing image for the post and you see it: “Upload Failed to Write File to Disk.” As frustrating as this can be, it’s actually not overly difficult to fix in most cases. As long as you have access to the root folders of the website itself, it may not take a great deal of effort.
What Causes the “Failed to Write” Error?
In the majority of cases, the failure to write to disk is caused by incorrect folder permissions. As a result, WordPress assumes that files cannot be written to the directory. This can be caused by bad plugins or a major change on your web hosting server.
Some attacks from hackers may also change folder permissions, which gives them direct access to install files of their own. This is often the case when a script overwrites those permissions and places a “phishing” fake website within your folders.
In any case, here are the steps to fix the “failed to write file to disk” problem and restore your folder permissions.
Step 1: Using FTP Client Software

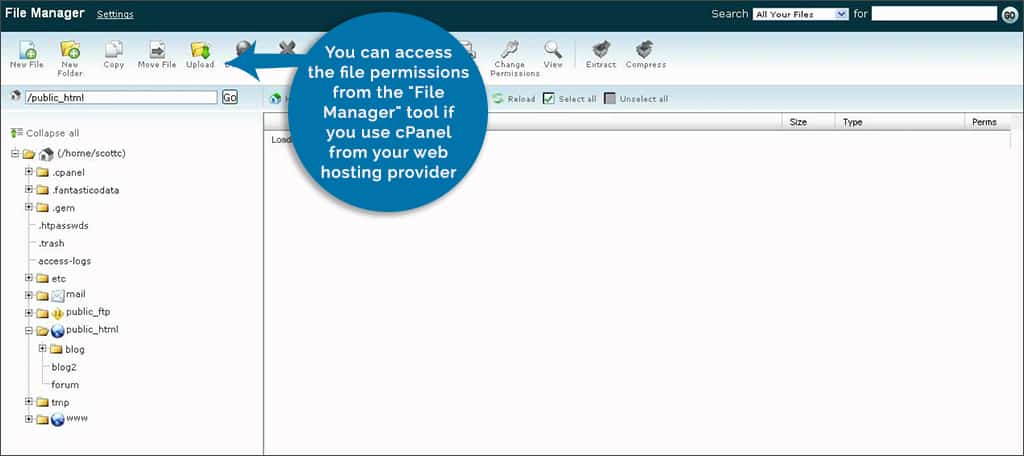
In order to change folder permissions of your website, you need FTP client software. One of the most common of these is Filezilla. It’s a free application and quite easy to use. Dreamweaver is another, or you can access the file permissions from the “File Manager” tool if you use cPanel from your web hosting provider.
NOTE: You will need the FTP login credentials from your web host for the software. If you don’t know this information, you will have to contact the hosting company.
Step 2: Accessing File Permissions

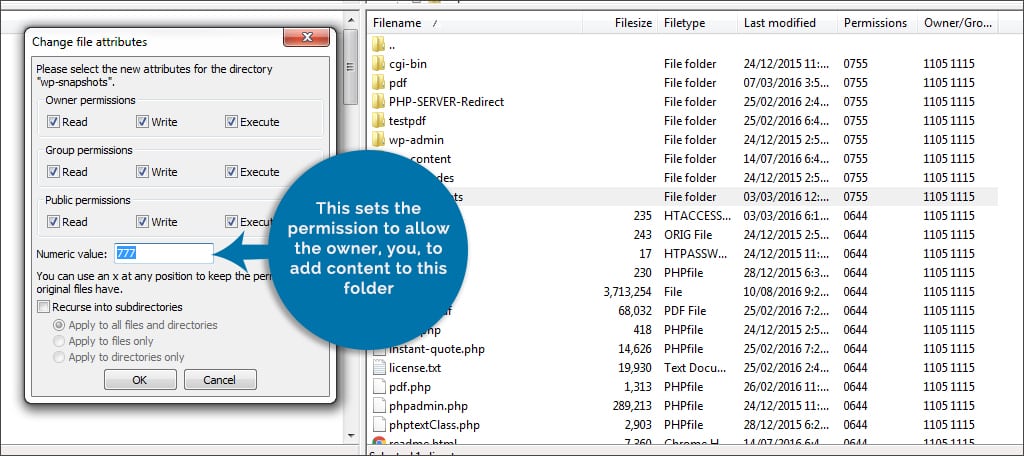
Once you have access to your website’s system from the FTP program, find the folder: “wp-content.” This is where the majority of the files you create will be stored. In Filezilla, you right-click the folder and select “File permissions…” on the bottom. The software will bring up a new window called “Change file attributes.” It is from here that you will make the necessary adjustments to fix your file system.
Step 3: Changing the Numeric Value of Folders Only

In this new window, find the text field labeled: “Numeric value.” Change the number in this field to: “755.” This sets the permission to allow the owner, you, to add content to this folder. Some people will attempt to put in “777,” which may give you access. However, it will also open the website for others to have access to those folders as well. It’s not advisable to change the numeric value to 777 unless you are temporarily testing the system.
Make sure the “Recurse into subdirectories” option is selected. This will make sure all subdirectories within wp-content are changed as well.
Select the “Apply to directories only” option on the bottom. You don’t want to change the permission of files themselves at this point. Once you’re done, click the “OK” button on the bottom.
Step 4: Changing the Numeric Value of Files Only

Now that the folders are fixed, it’s time to verify the files are set correctly as well. Right click the wp-content folder and change the permissions again.
In the numeric field, change the number to “644.” These will also need to recurse into the subdirectories. However, this time you’ll select the option for “Apply to files only.” Once you click “OK,” Filezilla will do the rest.
Step 5: Checking the Temporary File Directory
Once the file permissions are set, you should be able to upload images and files to WordPress. If you’re still unable to upload, the temporary file directory may be full. WordPress uses a temporary file directory in PHP during file transfers. In this case, you will need to contact your web host to have them empty out this directory. This is often a hidden location, and you may be unable to access this area with Filezilla or any other FTP program.
Protecting the Site with Plugins

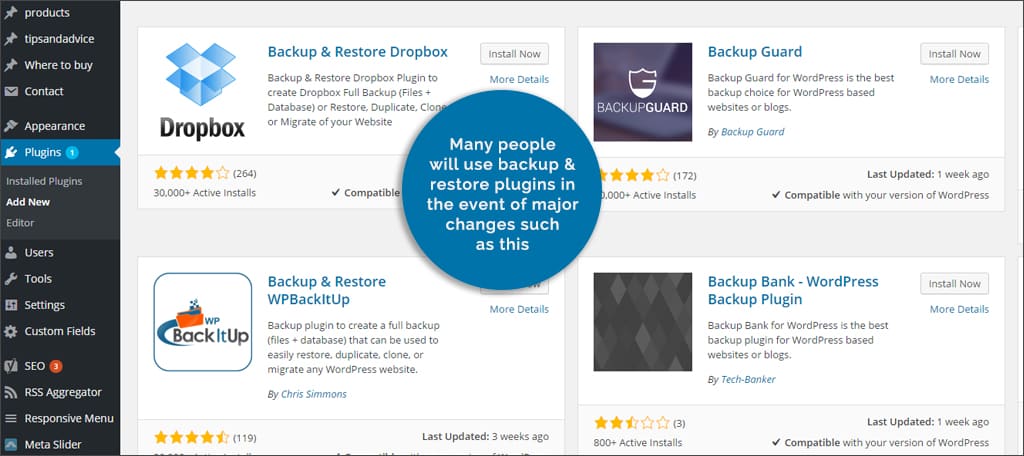
Many people will use backup and restore plugins in the event of major changes such as this. In some instances, this may not be practical simply because it takes time to restore the entire website. However, it’s an excellent option in the event of a more severe disaster. It’s always a good practice to have security measures in place to prevent errors such as these because of external sources.
There are many things that can change the folder permissions of your website and cause a “failed to write file to disk” error. In some cases, you may even be able to identify a plugin causing the issue. However, it may not be a bad idea to scan the website for malware. It’s better to err on the side of caution than to be at the mercy of an attack. Learn more about how to protect your website with these 5 essential security features.
Do you keep your file system protected with antimalware plugins? What kind of errors have you come across in WordPress?

Hi Kaumil,
Thanks for your guide. Had this issue, followed up all steps and ended up contacting my web host to clear the temp folder. It works again.
Thanks
Hi Kaumil,
Thank you for this article, it helped me as well.
You’re welcome! 🙂
i’m currently experiencing it right now
I’m sorry to hear that. Did any of these steps help you fix the problem?