There are two ways to create a MySQL database and user in cPanel, this article will take you through the steps for the quickest method, using the Database Wizard.
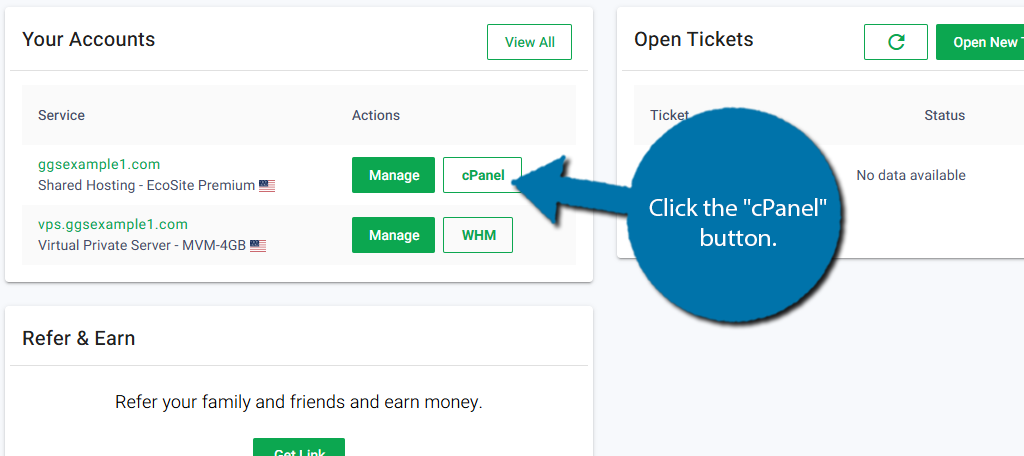
Log in to GreenGeeks and go to the cPanel by clicking the “cPanel” button.
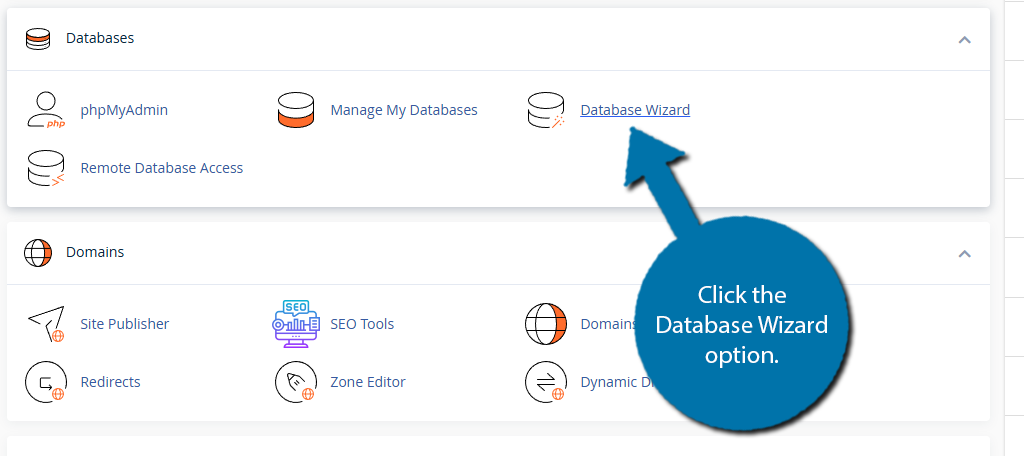
Scroll down to the Database section, and click the Database Wizard option.
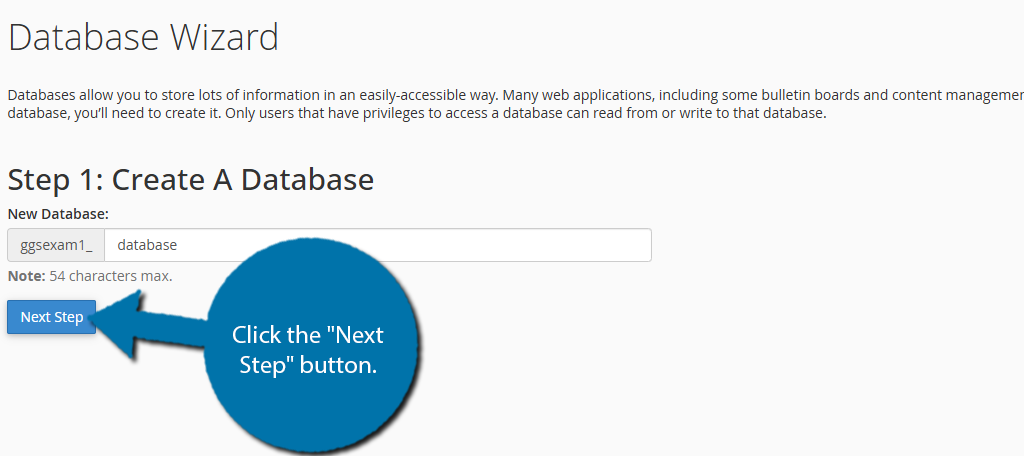
Step 1: Create the Database
The first step of creating a new database is to create a name for it. Every database you make will have your domain name as the prefix. Enter the name in the available text box.
Click the “Next Step” button once you have entered a name.
Step 2: Create the Database User
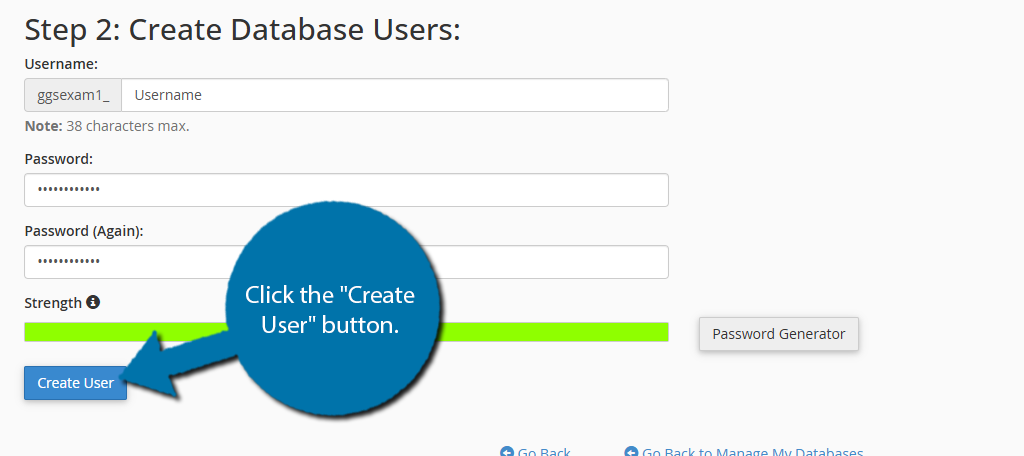
The next step involves making a new user for your database. You will need to create a username and a password.
The username will always have your domain name as a prefix, similar to the database name. Enter the user name in the appropriate box.
Below this, there will be two more text boxes. The first is to enter your password and the second is to re-enter it. You must enter a strong password, or else it will be rejected.
You can also click on the “Password Generator” button to generate one. Once all fields have been entered, click the “Create User” button.
Step 3: Add the User to the Database
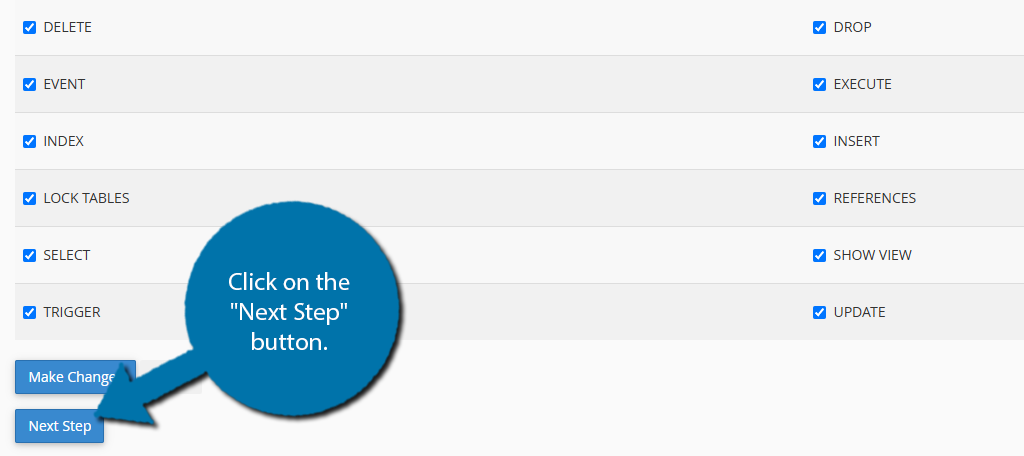
Lastly, you’ll need to add the user you just created to the database by selecting what privileges it has. While you can manually check the boxes you want, most will just check the All Privileges option.
Click on the “Next Step” button when you are done.
And that’s it. Your database and user are now created and ready for use.
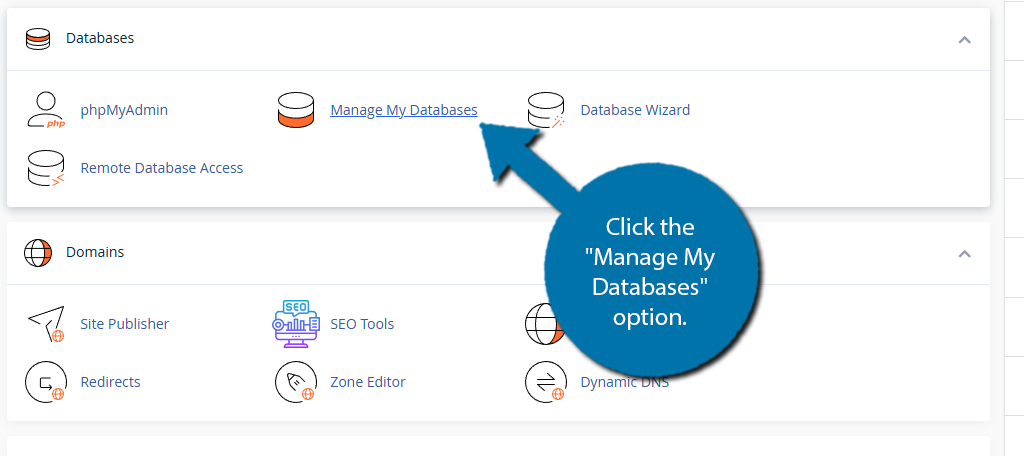
To manage your database(s) and user(s), log back into cPanel, scroll to the “Databases” section, and click the “Manage My Databases” option.
